
ATVs are amazing machines. These versatile all-terrain vehicles are as fun to ride as they are useful, so avid ATV enthusiasts often wind up spending hours at a time off-roading. Given how much time they spend on their machines, it makes sense that serious ATV riders like to hit the trails in style. Those who are new to the scene can read on to find out how to keep up by applying new custom graphics kits.
Table of Contents
What Are Graphics?
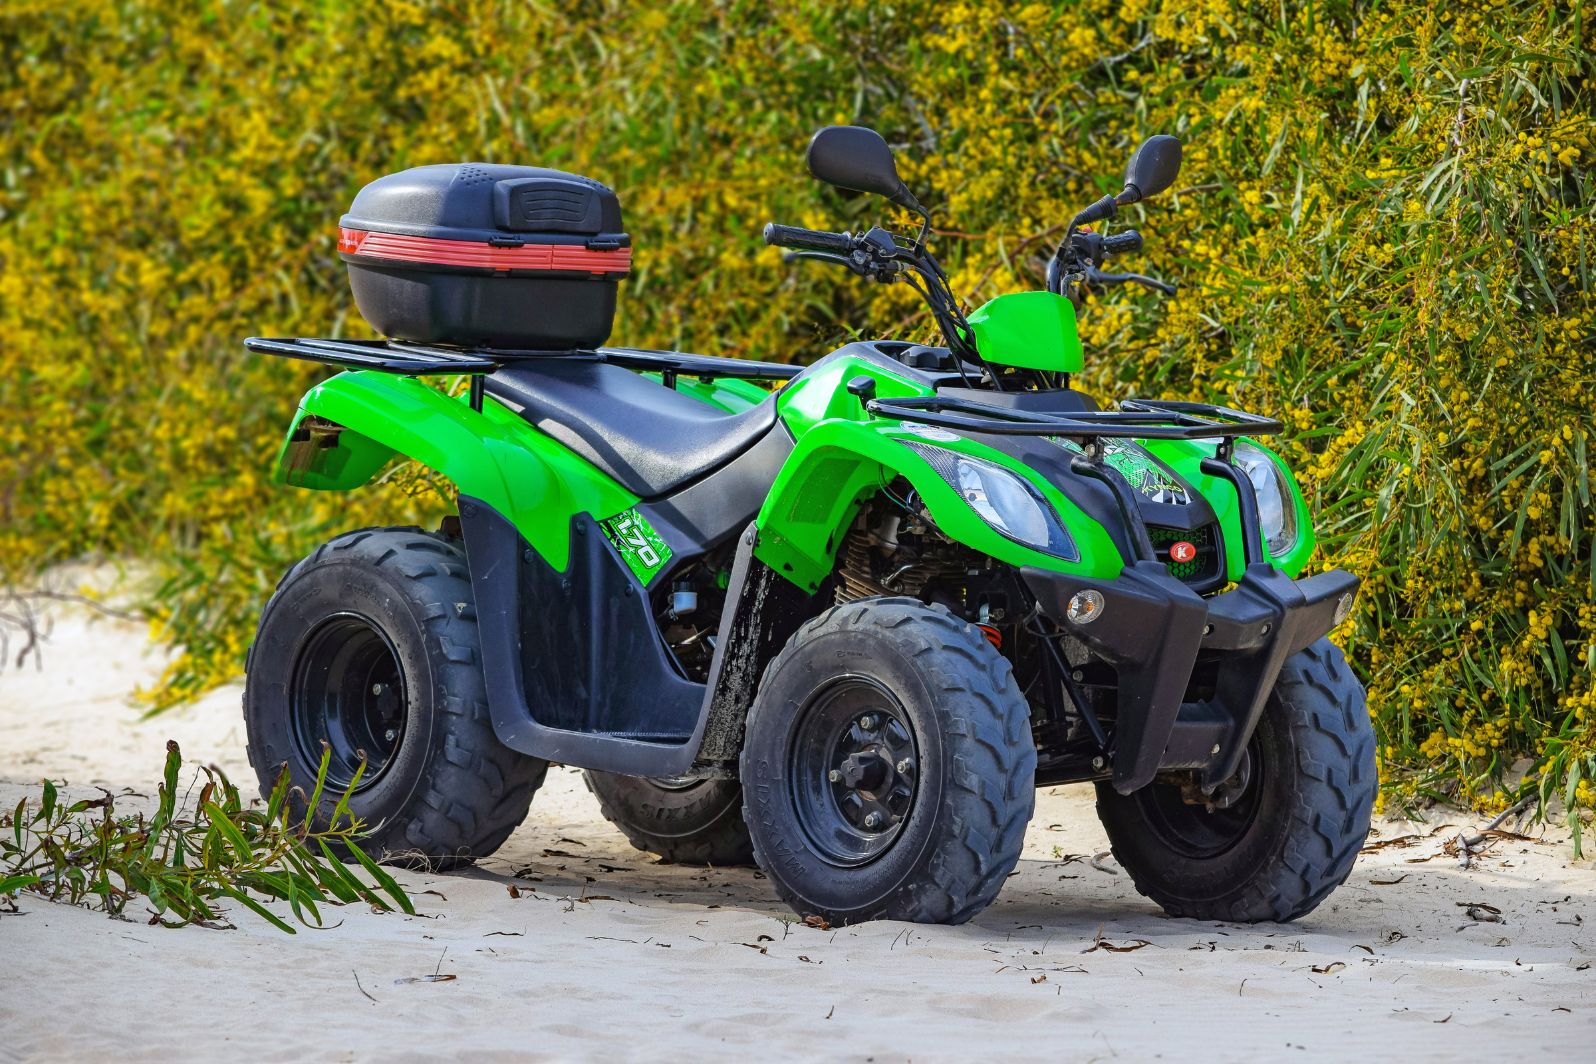
Let’s start at the beginning with a definition of graphics for ATVs. In their simplest form, graphics kits are sets of decals designed to fit specific makes and models of vehicles. Also called ATV wraps, graphics kits can be used to change a vehicle’s color or pattern, revamping its overall appearance and letting riders show some style.
Choosing the Right Graphics
The first thing that newcomers to the ATV scene need to know is that wraps are not one-size-fits-all. Rather, they come customized to the shape of each specific make and model of ATV. This allows for quick and easy DIY installation and ensures full coverage of all plastic surfaces but also means that riders need to be careful about ordering the right kits.
Once they’ve found a manufacturer that offers kits tailored to their ATVs, riders can choose from an incredible variety of colors, patterns, and styles. As long as they buy from reputable vendors, the graphics should fit their machines perfectly.
Applying Graphics Correctly
ATV graphics must be applied correctly if riders want them to stay in place and look good for years to come. Thankfully, there’s no need to go to a body shop. With a little extra attention to detail, almost anyone can apply ATV graphics at home by following these steps:
- Clean the machine’s exposed plastic thoroughly, removing old decals if necessary.
Check to be sure the graphics all line up properly before removing the backings.
Start with the largest decal, remove the backing, and place it on the correct plastic part.
Use a dry squeegee to press the graphic down, starting from the middle and working out toward the edges.
Cut off any overhanging pieces of sticker and check to make sure the lights are not covered.
Apply gentle heat using a blow dryer or a heat gun to help the adhesive cure.
Leave the ATV in a shady spot for 24 hours before taking it out on the trails.
Most riders find that the entire process takes several hours to complete, but don’t rush it. Attention to detail is the key to making sure the graphics look great and stay in place for years to come. While there’s nothing wrong with replacing graphics more frequently than is strictly necessary to update an ATV’s style, no one wants to be forced into replacing damaged graphics or, even worse, worn plastic as a result of inattention to detail during the initial application.
Buy High-Quality Graphics
Even properly applied graphics won’t last for long if they’re not made from high-quality, UV-resistant, and abrasion-resistant materials. Before placing an order for a new graphics kit, check to make sure the vendor has a reputation for manufacturing high-quality products, and don’t be afraid to reach out with questions. A reputable manufacturer will be happy to help customers find the right graphics so that they can ride in style.