
The solar family has been growing over the years and consists of more than solar panels and inverters. Heard about solar roof ventilation? As the tech world evolves, so does the solar industry. And some of the additions include a vent fan powered by the sun’s free energy. A solar fan is a worthwhile investment for any home as it regulates the room temperature. Its technology works by exhausting a great deal of hot air for a cooling effect. It also comes in handy in the winter: it prevents roof damage and mould growth by clearing moisture.
Moreover, the ventilation system is excellent for the environment as it lowers your dependence on regular power sources. It reduces your power consumption bill for roof ventilation. Yet, it can be installed just about anywhere on the roofing system. This article provides easy steps to install solar roof ventilation; read on!
Have Your Tools Ready
The basic tools needed for the installation include safety harnesses, hammer, ladder, utility knife, flat pry bar, reciprocating saw, roofing cement, drill/driver, and a caulk gun. However, the design and specification of your solar roof ventilation will determine if you’ll need more tools.
Find the Right Location
The location makes or breaks the energy you can generate. Solar ventilation companies highly advise positioning the system in a place with plenty of sunlight. Remember that the system needs enough energy for optimal functionality. Ensure there are no obstructions to the panels, like tall trees.
Time to Step Up the Ladder
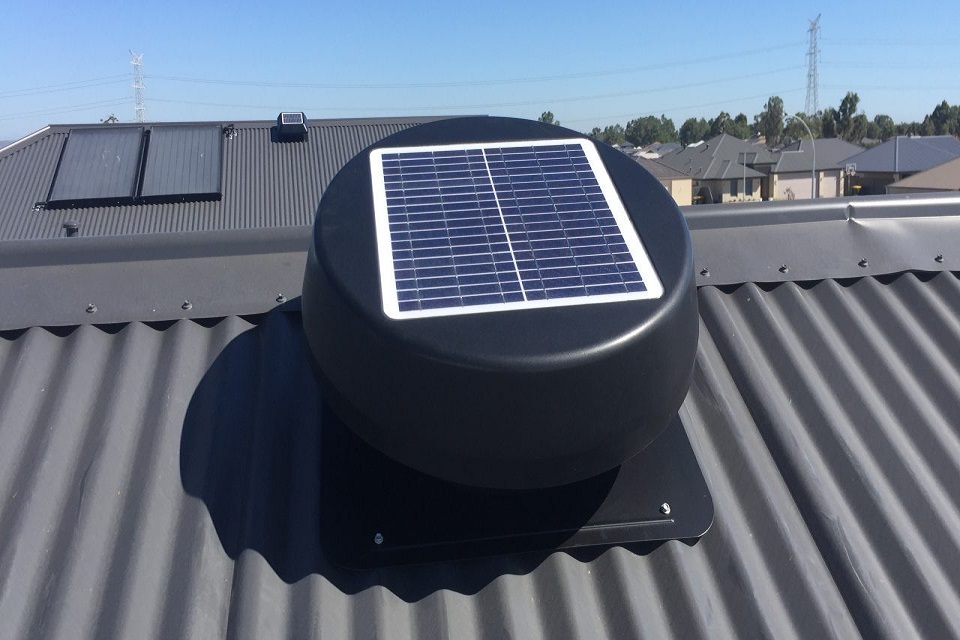
This step requires a ladder, and to be specific, a robust and stable ladder that will guarantee your safety. Therefore, bring the ladder and lean it meticulously into your preferred location. The location should incorporate adequate airflow throughout the roof. Also, prevent potential leaks by placing the vent next to ridge capping. Your harness is vital for carrying out this step.
Take Off the Shingles
Before you can jump to the detaching part, put on your gloves and protective eyewear first. Then mark the centre of your chosen location and drill a hole into it. Consider the roof vent’s perimeter to establish the spot. Have no drill? A utility knife will work just fine in cutting the roof shingles outline.
Gouge the Roof
Mark the roof’s centre in the exact position where you will place the vent. Use a reciprocating saw to cut the roof following the outlined mark. Don’t forget to remove the shingles surrounding the perimeter.
Position the Vent
Apply roofing cement before cutting the hole and evenly placing the solar roof vent on it. Then carefully screw the vent flashing to the roof and put in caulking around it.
Replace the Removed Shingles
Install new shingles around the vent using the proper roofing nails. Lastly, apply caulking and roofing cement at the shingles’ edges, particularly those that surround the vent.
Table of Contents
Tips on maintaining the solar roof ventilation
Keep debris off
Branches, leaves, and dirt will garner on your roof over time. It’s essential to clear the debris to maintain your roof’s integrity and keep your solar fan in perfect working condition. Fan blades can trap debris leading to mechanical failure.
Examine the solar panels regularly
Remember to check your solar panels for any damage. These include scratches, chips, and cracks. They tend to lower the systems’ efficiency, compromising the fan’s functionality. A contractor can handle all the repairs and replacements if needed. Always use a damp towel to clean the panels.
Why should you ventilate your roof cavity?
To promote the overall health of your roof space. Poor roof ventilation can lead to various issues, including condensation and mould and decay problems. As a result, it promotes a breeding environment for bugs that relish hot damp environments, lowering the roof’s insulation performance.
Conclusion
Solar roof ventilation systems are the newest essential, and there are good reasons. They enhance indoor comfort levels and maintain the roof’s structure. Ready to go green with your roof ventilation needs? Contact a reputable contractor to get the most from a quality system and professional installation.